Turn receipt photos into a tidy expense sheet automatically
Snap or forward a receipt, let AI read the merchant, amount and category, and land a clean row in Google Sheets — no manual typing.
What this looks like
One step on screen at a time. Read it, do it, tap Next.
Turn receipt photos into a tidy expense sheet automatically
Step 1 of 12
Trigger on a new file in the receipts folder
Create a workflow and add a Google Drive Trigger watching your receipts folder for new files. This fires the moment a photo lands, whether you added it from your phone or a scanner app.
Checkpoint
Dropping a test image into the folder starts a workflow execution.
Before you begin
Tick these off as you sort them. Stopping halfway to create an account is how a fifteen-minute build becomes an hour.
0 of 9 ready
Ticks are saved on this device, so you can come back to them.
- API key
You need a key on an account with billing enabled — receipt reading uses an image-capable model, which is not covered by the free tier.
OpenAI API keys - Have ready
This is the simplest capture point: photograph a receipt, save it here from your phone, and the workflow picks it up.
- Have ready
Columns: Date, Merchant, Amount, Category, Notes, ReceiptLink. Add the header row before you start.
- Account
The same account can host the receipts folder and the expense sheet, which keeps permissions simple.
- AccountOptional
Optional, but forwarding a photo to a bot is often quicker than opening the Drive app. Create one via BotFather if you want this route.
- Know-how
Decide these upfront — Travel, Meals, Software, Office, Other — so the AI has a fixed list to choose from rather than inventing new ones each time.
- Time
Most of the time goes into wording the prompt so extraction is consistent across messy receipts.
The basics — ticked once, remembered everywhere
- Account
Either the hosted version or a self-hosted install. Everything here works the same on both — the only visible difference is the shape of your webhook URLs.
Create a workspace - Know-how
Adding a node, connecting two of them, and pressing Execute. If any of that is new, the free primer covers it in about ten minutes.
- Credential
You will paste at least one secret during setup. A password manager beats a notes app, and it stops you pasting a live key into a chat window by accident.
The shape of the workflow
The nodes you will end up with, left to right, in the order you add them.
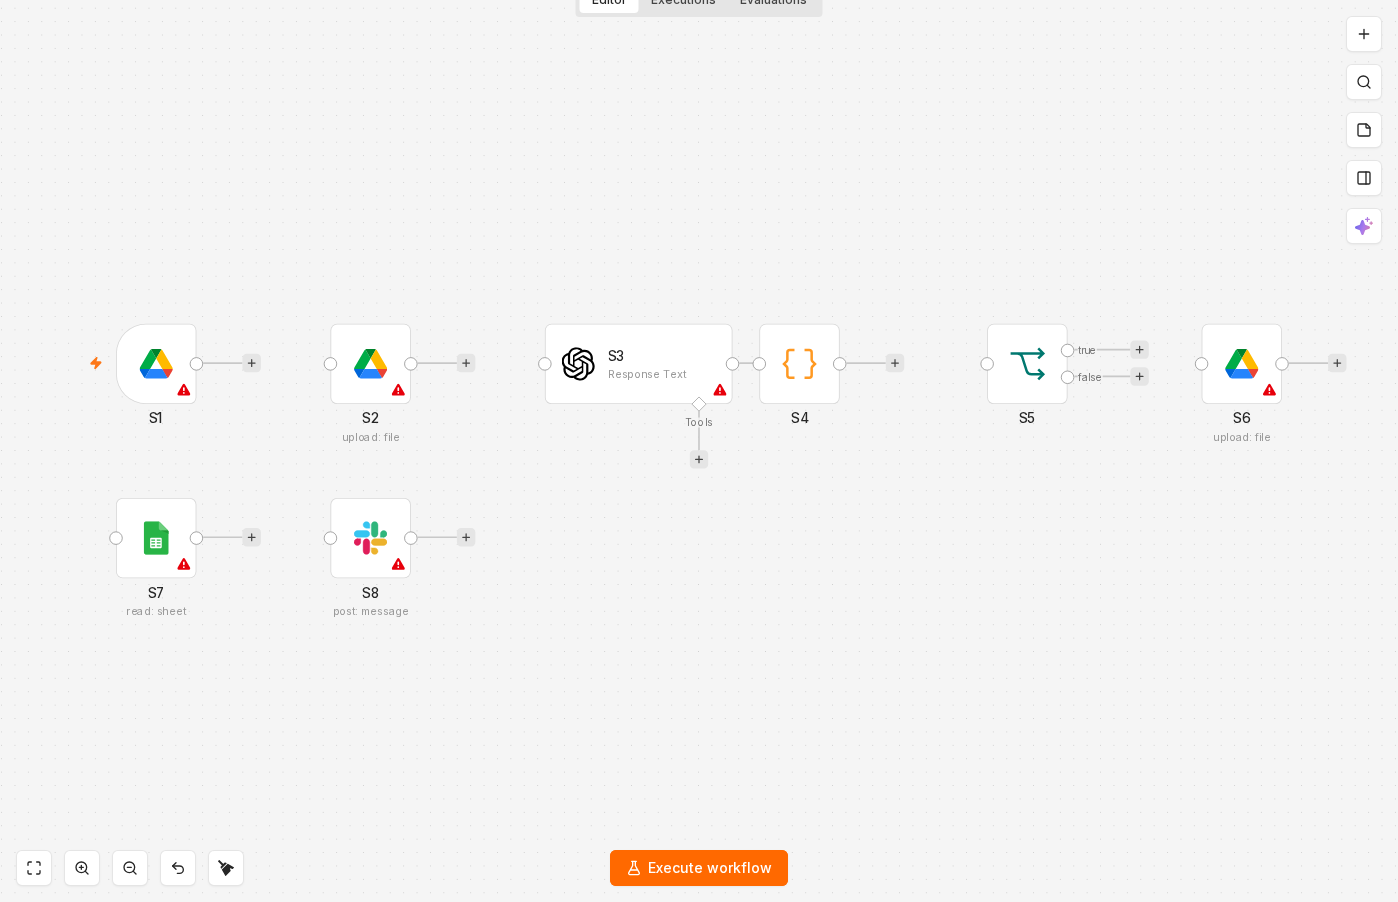 4 things to set here
- 1Google Drive Trigger — the trigger — everything starts here
- 2Google Drive — Download the receipt file
- 3OpenAI — Ask the model to read the receipt
- 4Code — Parse the JSON reply
Skip the node hunting
Import a starter file with every node for this build already on the canvas, named after its step and wired in order, each one carrying a sticky note with the values to enter. You still connect your own accounts and fill the fields — that is what the walkthrough takes you through — but you never start at a blank canvas.
In n8n: Workflows → Import from file.
What you will build
Jump straight to any step, or print the list and tick it off beside your n8n tab.
- 1Trigger on a new file in the receipts folder
- 2Download the receipt file
- 3Ask the model to read the receipt
- 4Parse the JSON reply
- 5Filter out failed reads
- 6Get a shareable link to the original receipt
- 7Append the row to the expense sheet
- 8Flag anything the AI couldn't read
- 9Activate the workflow
- 10Try a clean, well-lit receipt
- 11Try a crumpled or dark receipt
- 12Check duplicate handling
If something goes wrong
Everything ready?
Start walkthrough