Route expense claims to the right approver automatically
Capture expense claims through a form, send small claims for a quick sign-off and large ones up the chain, then log every decision so nothing gets approved twice.
What this looks like
One step on screen at a time. Read it, do it, tap Next.
Route expense claims to the right approver automatically
Step 1 of 13
Build the claim submission form
Create a workflow and add an n8n Form Trigger. This is what employees use to submit a claim, so keep the fields simple and specific.
Checkpoint
Submitting the form produces an item with all five fields filled in.
Before you begin
Tick these off as you sort them. Stopping halfway to create an account is how a fifteen-minute build becomes an hour.
0 of 9 ready
Ticks are saved on this device, so you can come back to them.
- Know-how
Decide the money bands up front, for example under £100 auto-approved, £100–£1,000 needs a line manager, above £1,000 needs finance. Write these down before you build.
- Have ready
One approver per tier is enough to start. You can route by department later once the basic tiers work.
- Have ready
Columns: ClaimID, Employee, Amount, Category, Description, Tier, Status, Approver, Decision, DecisionDate.
- Account
Used to log every claim and its outcome so you have an audit trail.
- Account
Approvers reply or click through from this address, so use one people expect finance emails from.
- AccountOptional
Used for a real-time nudge to approvers alongside the email. Skip this if your team lives in email.
- Time
Most of the time goes into getting the tier logic and the approval links right.
The basics — ticked once, remembered everywhere
- Account
Either the hosted version or a self-hosted install. Everything here works the same on both — the only visible difference is the shape of your webhook URLs.
Create a workspace - Know-how
Adding a node, connecting two of them, and pressing Execute. If any of that is new, the free primer covers it in about ten minutes.
- Credential
You will paste at least one secret during setup. A password manager beats a notes app, and it stops you pasting a live key into a chat window by accident.
The shape of the workflow
The nodes you will end up with, left to right, in the order you add them.
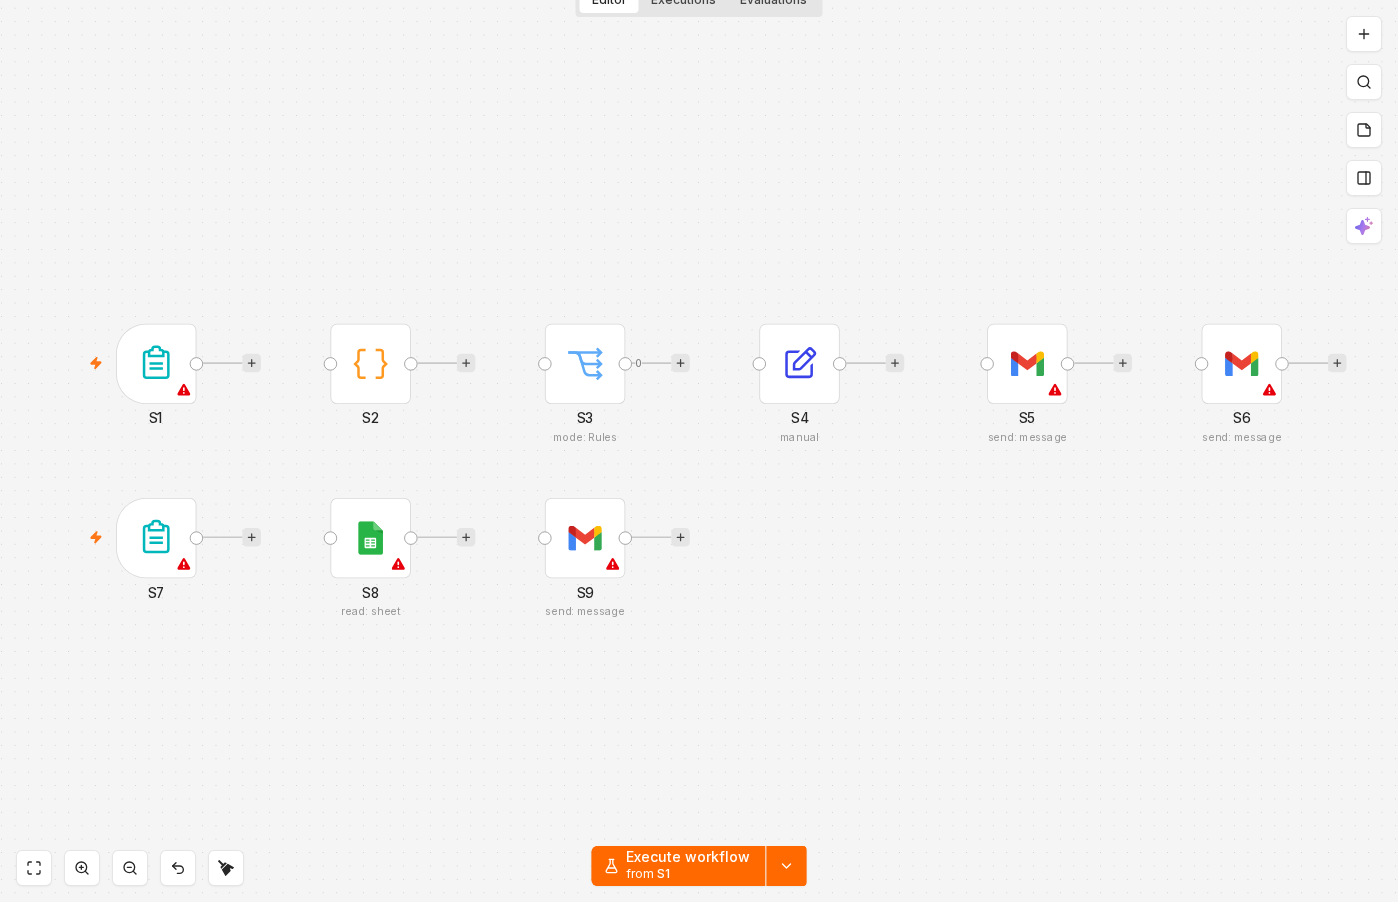 4 things to set here
- 1n8n Form Trigger — the trigger — everything starts here
- 2Code — Give the claim a unique ID
- 3Switch — Decide the approval tier
- 4Set — Auto-approve the small claims
Skip the node hunting
Import a starter file with every node for this build already on the canvas, named after its step and wired in order, each one carrying a sticky note with the values to enter. You still connect your own accounts and fill the fields — that is what the walkthrough takes you through — but you never start at a blank canvas.
In n8n: Workflows → Import from file.
What you will build
Jump straight to any step, or print the list and tick it off beside your n8n tab.
- 1Build the claim submission form
- 2Give the claim a unique ID
- 3Decide the approval tier
- 4Auto-approve the small claims
- 5Send the manager tier for approval
- 6Send the finance tier for approval
- 7Capture the approver's decision
- 8Log every claim and decision
- 9Notify the employee of the outcome
- 10Activate the workflow
- 11Submit a claim under the auto-approve limit
- 12Submit a claim in each higher tier
- 13Click both the approve and reject links
If something goes wrong
Everything ready?
Start walkthrough